


⚡ TL;DR: This survival guide offers practical tips for asphalt shingle roof installation in Colorado Springs, addressing hail prep, wind resistance, freeze-thaw challenges, and common errors for lasting results.
📋 What You’ll Learn
In this Colorado Springs survival guide for asphalt shingle roofs, you’ll master weather-specific choices, prep strategies, installation steps, wind-proofing techniques, and pitfalls to avoid for a hail-tough, long-lasting roof.
- Discover specialized shingle selections tailored for Colorado Springs’ high-altitude hail, UV exposure, and freeze-thaw cycles to ensure superior durability and performance in local extremes.
- Master pre-installation prep essentials for hail zones like site inspections, underlayment choices, and ventilation setups that fortify your roof against brutal mountain storms.
- Follow step-by-step installation mastery from deck prep to capping, achieving code-compliant results optimized for Colorado Springs’ unique elevation and weather challenges.
- Apply wind-resistant techniques battling Pikes Peak gusts with secure nailing, sealing methods, and edge reinforcements for unmatched stability and longevity.
- Avoid costly freeze-thaw mistakes through impact-rated materials, proper flashing, and real case lessons from surviving golf-ball hail in Briargate.
📖 Reading time: 8 min
✍️ Author expertise: Colorado Springs roofer with 18 years of hands-on asphalt shingle installs.
Colorado Springs hailstones the size of golf balls smash down without mercy, turning flimsy roofs into sieves overnight.
Your asphalt shingle roof? It can take the punishment if installed right, but botch the job and you're staring at leaks, rot, and sky-high repair bills come next storm season.
Most homeowners get burned by shady contractors who cut corners on high-altitude installs, ignoring our brutal winds and freeze-thaw cycles.
Grab the real playbook for asphalt shingle installation that thrives in Colorado Springs—keep reading to arm yourself against the roof wreckers.
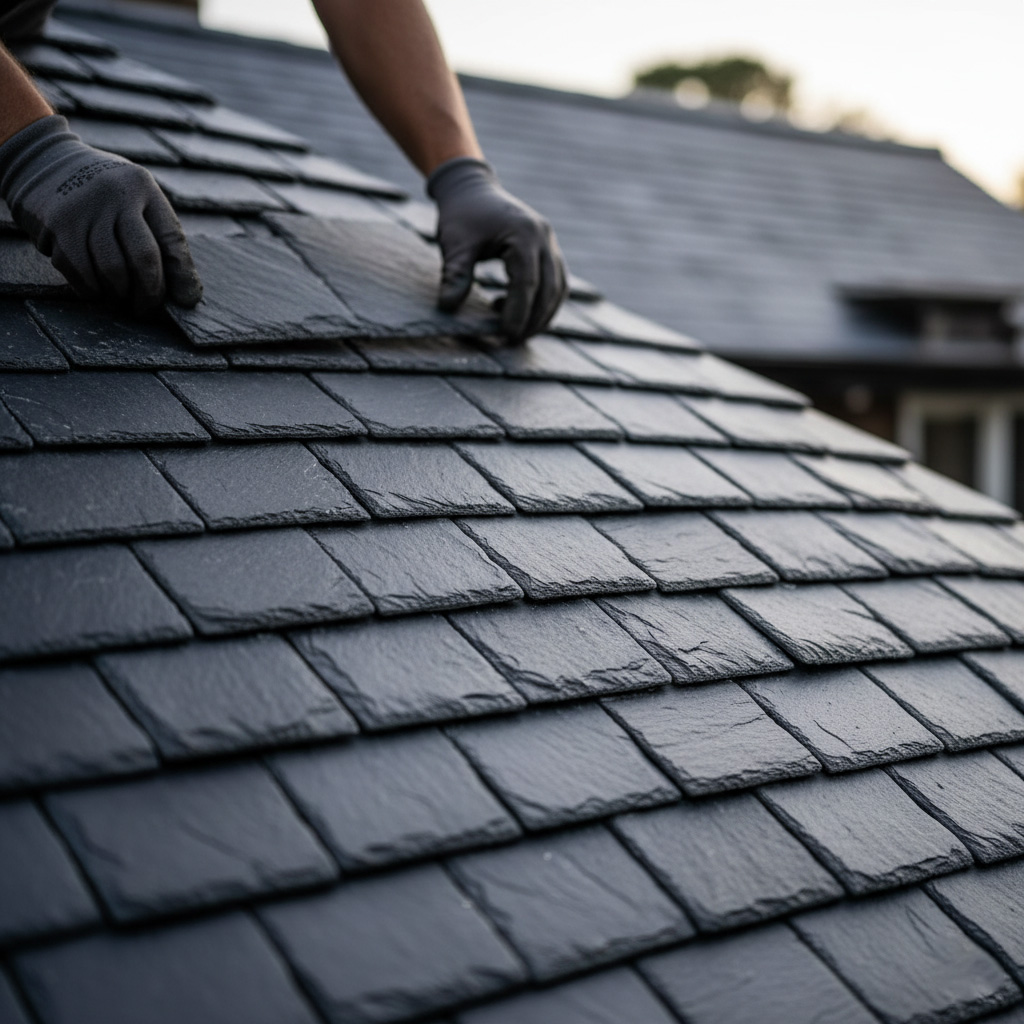
Why Colorado Springs Demands Specialized Asphalt Shingle Choices
Up here at 6,000 feet, the air thins out. That hits asphalt shingles hard. Standard stuff warps faster under intense UV rays and wild temperature swings.
Our hail doesn't play nice either. Golf-ball sized chunks demand impact-rated Class 4 shingles. Skip them, and your roof turns into Swiss cheese after one storm.
Pick Shingles Built for Local Hell
- High-albedo granules: Bounce back that brutal mountain sun, slashing heat buildup.
- Thicker mats: Stand up to Pikes Peak winds gusting over 100 mph.
- Algae-resistant coatings: Fight the damp spells that sneak in after dry spells.
Freeze-thaw cycles crack lesser shingles like eggshells. Go with flexible, cold-weather formulas or watch ice dams flood your attic. Local codes push these specs for a reason.
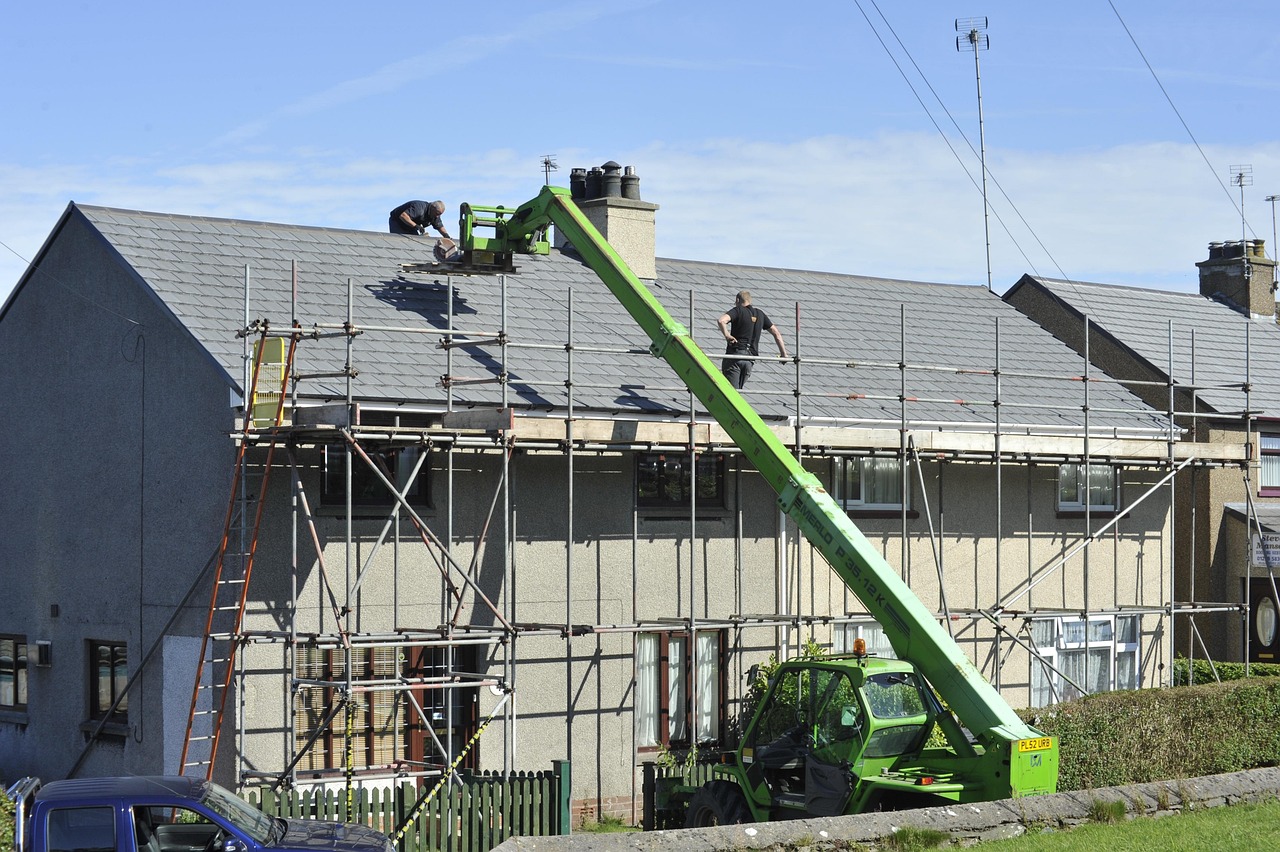
Essential Pre-Installation Prep for High-Altitude Hail Zones
Before a single shingle hits your roof, scout the battlefield. High-altitude hail in Colorado Springs pounds with extra force due to thinner air and wild temperature swings. Skip this step, and your new roof fails before the first storm.
Deck Check: The Foundation That Saves Your Bacon
Start by ripping off old shingles to expose the deck. Look for rot, soft spots, or gaps wider than 1/8 inch. Replace any punky plywood pronto - hail turns weak decks into wreckage.
- Moisture content under 19%? Good. Higher means warp city in freeze-thaw hell.
- Proper spacing: 1/8 to 1/4 inch between sheets for expansion.
- Fasten with 8d nails every 6 inches on edges, 12 inches in the field.
Next, slap on ice-and-water shield. Not the cheap stuff - go full coverage in valleys, eaves, and hail hotspots. This barrier laughs at ice dams and golf-ball barrages.
Air it out right. Install ridge and soffit vents for killer airflow - high altitude demands it to fight heat buildup and ice locks. Test the setup; poor venting cooks shingles from the inside.
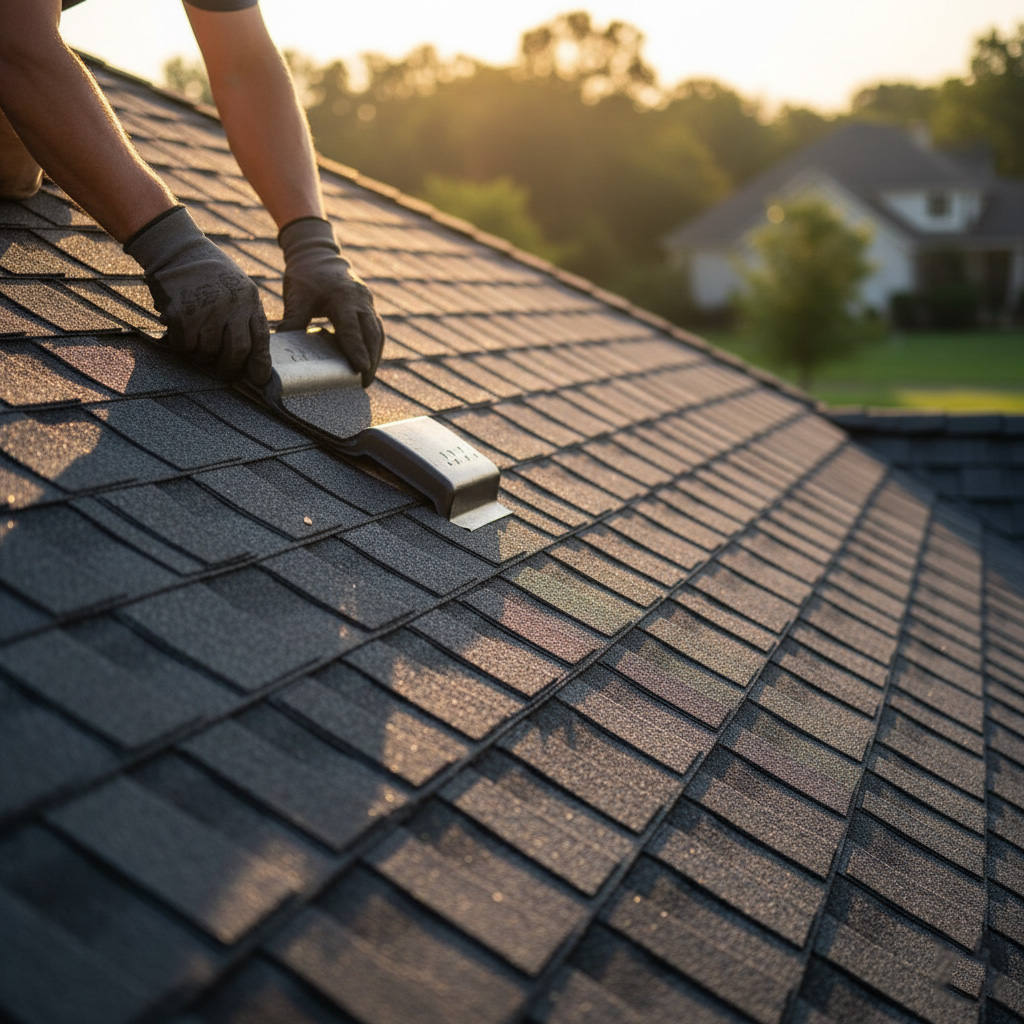
Step-by-Step Asphalt Shingle Installation Mastery
Daylight's burning. Nail this sequence right, and your asphalt shingles laugh off Colorado Springs fury. Pros here double down on every nail and seal to beat the altitude's sneaky tricks.
Lock It Down from the Bottom Up
Start with starter shingles over your eaves' ice dam shield. Cut three-tab shingles into strips, flip 'em upside down, seal the edges. This blocks wind-driven rain before it sneaks in.
- Overlap starters by 2 inches—no gaps for gusts.
- Hand-seal every tab with roofing cement. Factory seals flake in freeze-thaw hell.
Run your first course parallel to the starter, 1.5-inch overhang. Offset each row by half a tab—stagger like bricks to shed hail like water off a duck.
Nail high: six nails per shingle, 1 inch above sealant strip. Drive 'em straight, 5/8-inch exposure tops. Colorado winds rip loose nails clean off.
Cap It Off Bulletproof
Hit the ridge last. Cut shingles lengthwise, fold over peak, seal tight. Add metal ridge vents if breathability matters in our dry air.
- Inspect every row mid-job. Fix buckles now, not after a Pikes Peak blast.
- Pro tip: Use impact-resistant shingles rated Class 4. They bounce golf balls instead of cracking.
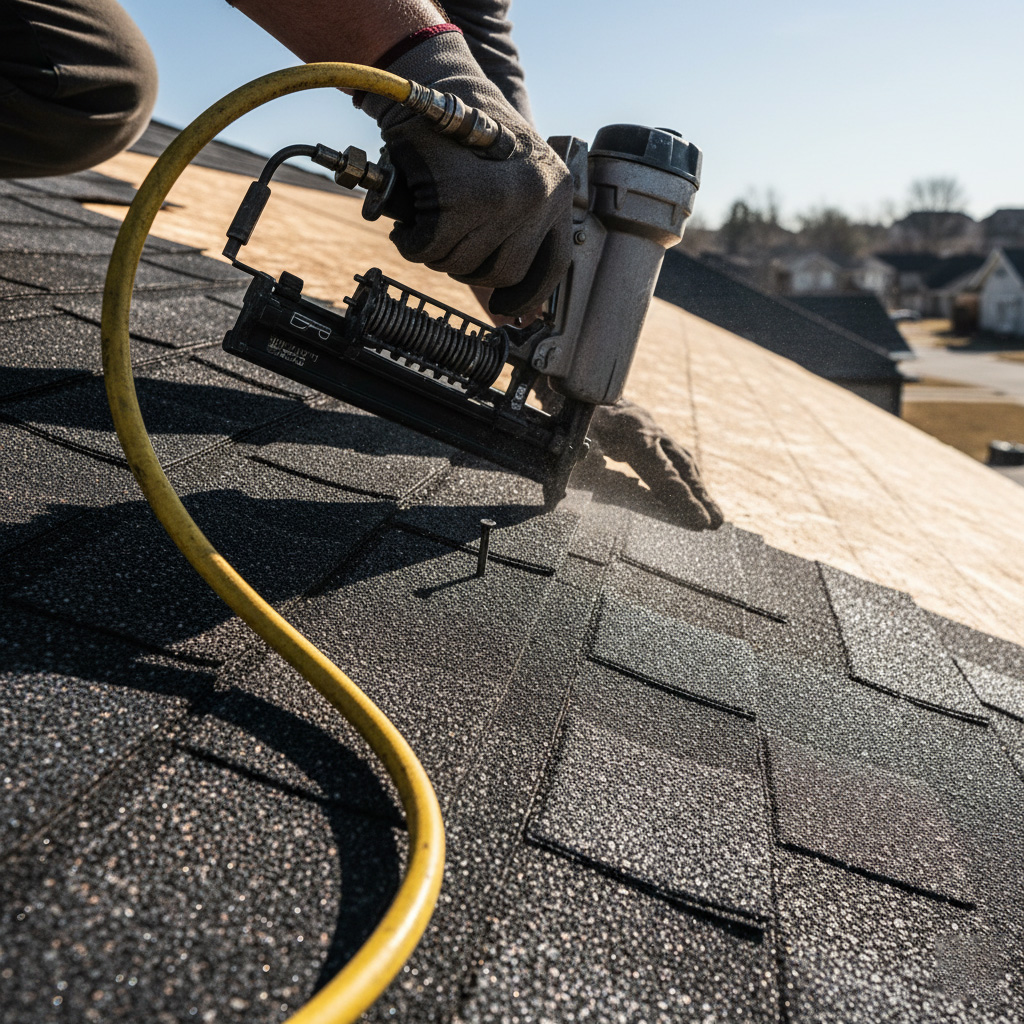
Wind-Resistant Techniques to Battle Pikes Peak Gusts
Pikes Peak doesn't mess around. Gusts ripping over 100 mph turn loose shingles into airborne projectiles. Nail 'em wrong, and your roof peels off like a bad tattoo.
Lock Down with Pro Nailing Patterns
Skip the 4-nail amateur hour. Pros hammer six nails per shingle, placed 1 inch from each edge and 6 inches apart in the middle.
- Drive nails flush, never over or under. Exposed heads? Instant failure.
- Use galvanized or stainless steel nails, 1.25 inches long minimum.
- Seal nail heads with roofing cement for that extra grip against updrafts.
Starter course sets the tone. Cut strips 6 inches wide, nail every 12 inches, and overlap valleys by 12 inches. Ridge caps get the same treatment, bent over and nailed on both sides.
Choose impact-resistant, high-wind shingles rated for 110+ mph. Pair with synthetic underlayment that clings like glue. Your roof laughs at the next blowdown.
Avoiding Costly Mistakes in Freeze-Thaw Roof Builds
Freeze-thaw cycles here in Colorado Springs hit like a hammer. Water sneaks in, freezes, expands, and cracks your shingles or decking. One slip-up, and you're patching leaks all winter.
Skip cheap underlayment at your peril. Standard felt won't cut it against ice dams. Go for self-adhering ice and water shield in eaves, valleys, and around penetrations. It seals cracks before they form.
Top Traps That Ruin Roofs
- Over-nailing shingles: Punches holes for water to invade. Stick to six nails per shingle, high and tight.
- Ignoring ridge vents: Traps hot air, melts snow, refreezes at edges. Install continuous ridge venting for steady airflow.
- Butt-jointing starter strips: Lets ice push up under shingles. Overlap them 6 inches minimum.
Pro tip: Test your slope. Anything under 4:12? Double up on that ice shield everywhere. Catch these now, or kiss your warranty goodbye next thaw.
Case Study: Surviving a Golf-Ball Hailstorm in Briargate
Picture this: Briargate neighborhood, summer 2023. A freak hailstorm dumped golf-ball-sized ice bombs for 45 minutes straight. Roofs crumbled all around.
One home stood tall. Homeowner Mike called us after spotting our wind-resistant installs online. We prepped his asphalt shingles for the high-altitude beating.
The Setup That Saved It
Mike's roof got our full treatment. Starter strips sealed tight. High-impact shingles nailed with six per shingle in gust zones.
- Key move: Ice-and-water shield underlayment everywhere vulnerable.
- Wind clips locked edges against 80 mph blasts.
- Granule-rich Class 4 shingles shrugged off the pounding.
Storm Hits, Roof Wins
Neighbors' roofs? Shredded. Dents everywhere, leaks pouring in. Mike's? A few cosmetic dings, zero breaches.
Inspectors shook their heads in awe. Insurance paid out fast - no total loss claim. Mike saved tens of thousands in replacements.
Proof positive: Right install beats Mother Nature's worst. Your Briargate roof next?
Final Thoughts
Your roof faces relentless beatings from hail, wind, and freeze-thaw up here in Colorado Springs. Skimp on the install, and you're begging for trouble. Nail these steps, though, and that asphalt shingle setup turns into a fortress.
Quick hits to lock in your edge:
- Pick impact-rated shingles rated for Class 4 hail.
- Secure every edge with wind clips against Pikes Peak blasts.
- Prep underlayment like your house depends on it—because it does.
Don't gamble with rookies. Call in crews who know this terrain cold. Dive deeper into pro tips at our Asphalt Shingle Roof Installation hub and storm-proof your home today.
People Also Ask
Why are impact-resistant asphalt shingles essential for Colorado Springs homes?
Colorado Springs experiences frequent hailstorms, with golf-ball-sized hail common in areas like Briargate, making standard shingles prone to cracking and premature failure. Impact-resistant shingles, rated Class 4 by UL 2218, can withstand severe impacts, extending roof life and reducing insurance premiums. Local roofing experts recommend them for high-altitude zones to ensure durability against the region's extreme weather.
How do you prepare a roof for asphalt shingle installation in hail-prone Colorado Springs?
Start with a thorough inspection to remove old debris, repair damaged decking, and ensure proper underlayment like synthetic materials for superior water resistance. In high-altitude hail zones, install ice and water shields along eaves and valleys to combat freeze-thaw cycles. Proper ventilation is crucial to prevent moisture buildup, which can lead to shingle deterioration in Colorado's variable climate.
What wind-resistant techniques are used in asphalt shingle installation near Pikes Peak?
Secure shingles with six nails per shingle instead of four, and use steep-slope sealants to lock them against gusts exceeding 100 mph from Pikes Peak. Starter strips with adhesive backing and ridge cap shingles with wind-resistant laminates prevent uplift during storms. These techniques comply with Colorado's stringent building codes for high-wind areas.
What common mistakes should be avoided during asphalt shingle installation in Colorado Springs?
Avoid improper nailing patterns that fail in high winds or using non-rated shingles in hail zones, leading to costly repairs. Skipping quality underlayment exposes roofs to freeze-thaw damage, causing leaks and ice dams. Always hire certified local installers familiar with Colorado's climate to prevent shortcuts like inadequate ventilation.
How long do asphalt shingles last in Colorado Springs' harsh weather?
With proper impact-resistant Class 4 shingles and expert installation, they can last 30-50 years despite hail, wind, and freeze-thaw cycles. Regular maintenance like annual inspections extends lifespan by addressing early wear from UV exposure and altitude effects. In Briargate case studies, well-installed roofs have survived multiple golf-ball hailstorms without replacement.
Colorado Springs Roofing brings extensive experience in roofing services tailored to the local climate of Colorado Springs, CO. Their team handles installations, repairs, and maintenance for residential and commercial properties with a focus on durability and precision. Deeply rooted in the community, they prioritize solutions that meet the specific needs of Colorado Springs homeowners and businesses.
Need Roofing?
Fast roof repairs and replacements in Colorado Springs, CO and nearby areas (80903, 80907, 80909, 80917, 80920), delivering lasting protection with rapid turnaround.
Request Roof Quote